 knacksnews
Effortless Ways to Extract a Freeze Frame from a Live Photo
Capturing moments with an iPhone is seamless, but Live Photos adds an extra layer by recording a short motion clip instead of a single frame. While great for reliving memories, sometimes you need a crisp, still image—whether for social media, printing, or storage. Luckily, extracting a high-quality freeze frame from a Live Photo is now easier than ever.
Apple's built-in tools offer quick solutions, while third-party apps provide more control over resolution and editing. From a straightforward iPhone setting to an advanced application, there is an approach that suits your requirements. Let us see the latest methods of saving Live Photos as still pictures easily with the best possible quality.
Best Ways to Save Live Photos as Still Images
Live Photos on iPhone record a couple of seconds of movement and sound before and after you snap a photo. You can save a Live Photo as a still picture if you'd like, and you have several options to accomplish this. Here's how:
Using iPhone’s Built-in Features

Apple has simplified the process of turning a Live Photo into a still image using the Photos app. The process is quick, doesn't need any other apps, and preserves the quality of the chosen frame.
- To extract a still image directly from a Live Photo, follow these steps:
- Open the Photos app and select the Live Photo you want to convert.
- Tap Edit in the top-right corner.
- A timeline of frames will appear at the bottom. Swipe left or right to find the perfect still.
- Tap Make Key Photo to select the frame you want as the main image.
- Tap Done to save your selection.
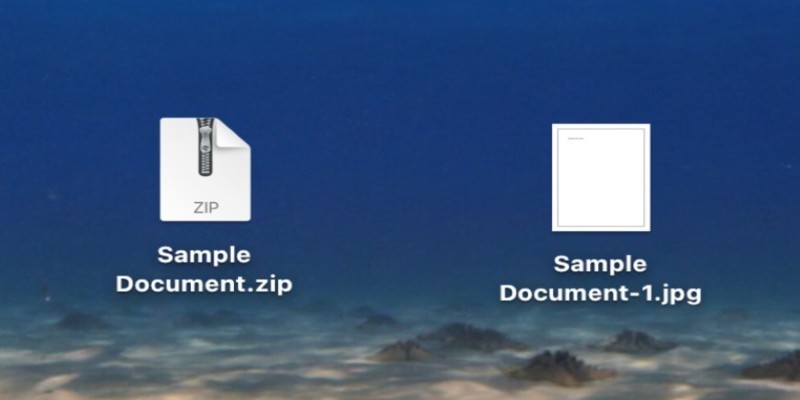
- To create a separate still image file, tap the Share button and select Duplicate as Still Photo.
This technique preserves the Live Photo but also lets you isolate a single frame and save it individually. However, it lacks advanced editing features, so if you want better control, consider alternative approaches.
Using a Screenshot for Quick Extraction
If you need an immediate still image without any additional steps, taking a screenshot is the fastest way to freeze a Live Photo.
Here’s how to do it:
- Open the Live Photo and pause it at the perfect frame.
- For iPhones with Face ID, press Power + Volume Up to capture a screenshot.
- For older iPhones with a Home button, press Power + Home simultaneously.
- Access the screenshot from the Photos app and crop any unwanted areas if needed.
While this is an easy solution, the downside is that screenshots might not have the same resolution and clarity as extracted stills using Apple’s built-in Live Photo tools.
Third-Party Apps for Enhanced Quality
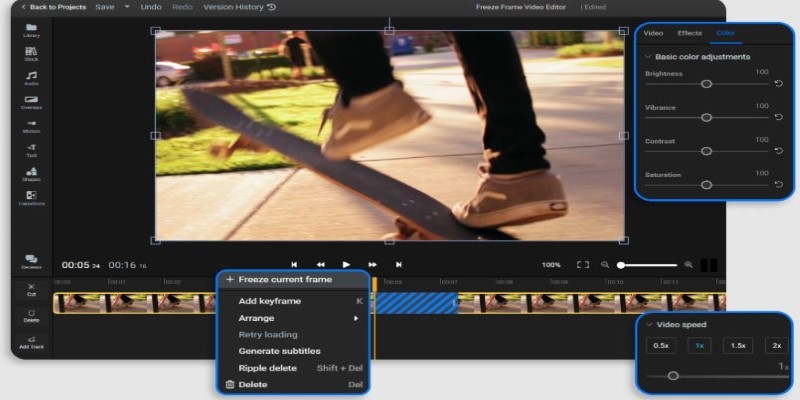
Third-party apps provide excellent alternatives for those who want better resolution, enhanced sharpness, and additional editing tools. These apps offer better control over frame selection and export settings, making them useful when converting Live Photos to still images.
Lively: Lively is a free app that extracts high-quality still images from Live Photos. It lets you select a frame, adjust the resolution, and save it, providing more control than iOS's built-in method for extracting stills.
Motion Stills by Google: Google's Motion Stills is another handy tool for turning Live Photos into stills or even short, stabilized videos. It offers a better frame selection than Apple's Photos app and ensures clarity in the final image.
IntoLive: Originally designed for making Live Photos from videos, IntoLive also allows you to freeze a frame and save it as a still image. It’s useful if you’re working with multiple shots and need precision.
These apps give more flexibility than Apple’s built-in method and are especially useful for those who need higher-resolution still images or extra editing capabilities.
Editing the Extracted Still for a Polished Look
Once you have saved your still image, post-processing can make it look even better. The iPhone’s built-in Photos app has essential editing tools to enhance the quality of your extracted frame:
- Increase sharpness to refine details.
- Adjust brightness and contrast to make the image more vibrant.
- Crop or straighten to remove unwanted areas or align the composition.
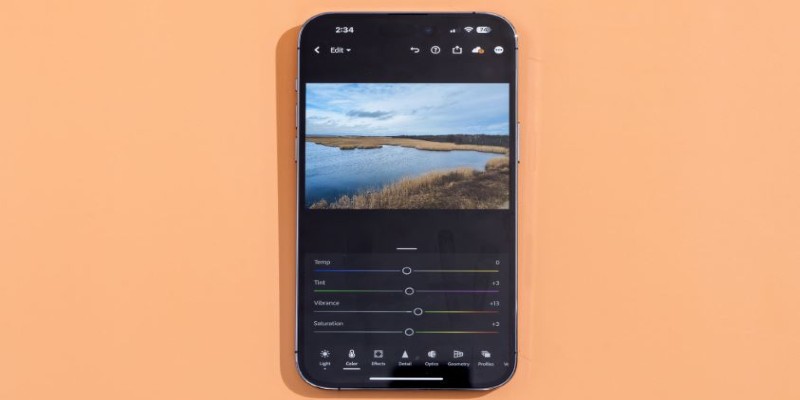
If you need more advanced tools, apps like Snapseed, Adobe Lightroom, or VSCO provide finer control over brightness, clarity, and even unwanted object removal. A little editing can make a big difference, especially if the original Live Photo had motion blur.
Why Convert Live Photos to Still Images?
Live Photos are great, but they aren’t always the best option. They take up more space, aren’t universally supported across all platforms, and sometimes, a single high-quality still is all you need. Here’s when a static image is preferable:
Social Media Sharing: Many platforms don't support Live Photos or compress them, reducing quality and making still images a better option.
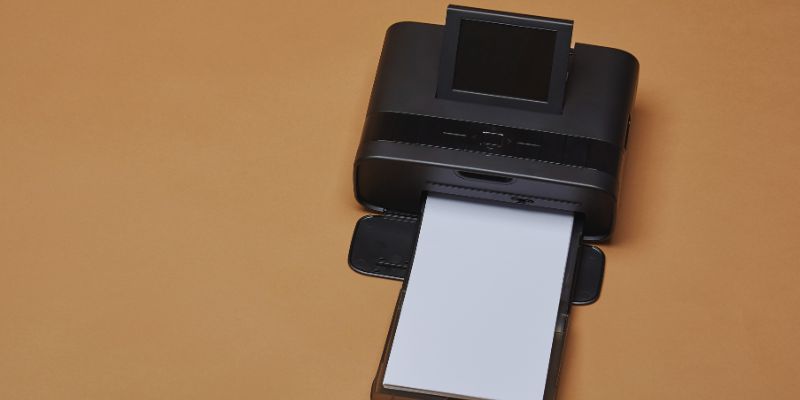
Printing: A well-selected still image offers higher clarity, avoids motion blur, and ensures better print quality for physical copies.
Storage Management: Live Photos consume more storage than regular images, so converting them to stills helps save space without losing quality.
By extracting the perfect freeze frame from a Live Photo, you get to capture the best moment without unnecessary motion.
Conclusion
Freezing the perfect moment from a Live Photo is simple with the right approach. Whether you use the iPhone’s built-in features, a quick screenshot, or third-party apps, you can extract high-quality stills effortlessly. The key is finding the best method based on your needs—speed, resolution, or customization. Editing tools can further enhance the final image for a polished look. While Live Photos capture motion, still images are often more practical for sharing, printing, and saving storage. With these methods, you can easily transform moving memories into crisp, lasting snapshots, preserving the best frame exactly as you envisioned.
Related Articles

How to Detect AI-Generated Text and Photos in a World of Digital Deception

How to Convert 4 JPG to BMP: Easily Decode Compressed Images into Uncompressed Files

How to Use Scheduling Assistant in Outlook: A Step-by-Step Guide
Effortless Ways to Extract a Freeze Frame from a Live Photo
From ZIP to JPG – Your Go-To Guide for Quick Image Extraction

How to Edit a PDF on Windows Like a Pro: The Ultimate Step-by-Step Guide

The Best Dictation Software: Transforming How You Work and Communicate

Which Are The Best Note-Taking Apps for Windows: Top Picks for 2025

How to Convert JPG to TIFF on Your Desktop: A Simple Guide
How to Easily Print Contracts with ezeep Blue: A Complete Guide

How to Set Up an Automatic Out-of-Office Notification Bot: A Step-by-Step Guide
