knacksnews
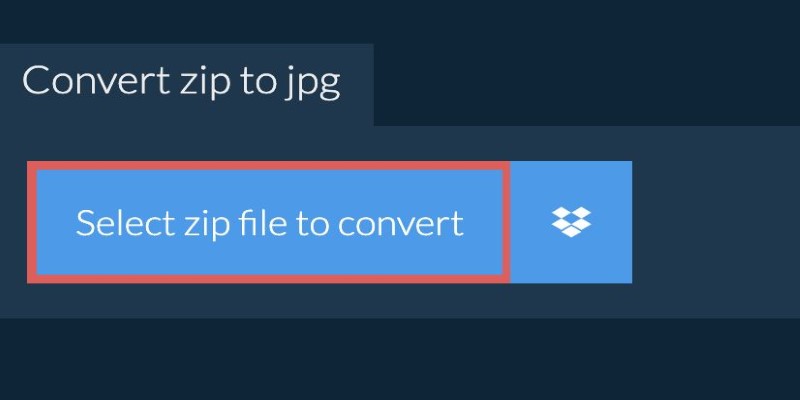
From ZIP to JPG – Your Go-To Guide for Quick Image Extraction
Managing files often involves dealing with ZIP archives containing multiple images or documents. In many cases, extracting these files into a more accessible format, like JPG, becomes necessary for easy sharing or editing. Converting ZIP to JPG is especially useful when handling a large collection of images, ensuring compatibility across different devices and platforms.
Understanding this process can save time and streamline workflow, whether for web use, social media, or personal organization. This guide will walk you through every step of converting ZIP files into JPG format, making the process simple and efficient while ensuring you don't miss any important details.
What is a ZIP File?
Before converting ZIP to JPG, it's essential to understand ZIP files. A ZIP file is a compressed folder that stores multiple files or folders, reducing storage space and making sharing easier. It can contain various file types, such as images, documents, or videos. To access these files, especially images, you must first extract them. Unzipping allows you to retrieve individual files for further use or conversion.
ZIP archives can also hold pictures in formats such as PNG, GIF, or even RAW. To view them on your website, social media, or project, they might need to be converted to a more accepted format such as JPG. This is where the conversion utility comes in very useful.
Why Convert ZIP to JPG?
There are many good reasons why you might want to convert a ZIP file into a JPG format. JPG is one of the more popular image formats on the Internet, as it achieves a balance between quality with respect to the upload speed and download speeds demanded by the users. If the ZIP files hold so many images that sharing and uploading will surely become tedious, JPG compression will ensure an adequate image quality that is low on file size. Almost every device and software can recognize JPG, thereby rendering it popular with the general public.
Another reason to convert ZIP to JPG is that JPG is a compressed format, which helps reduce the overall file size while maintaining decent image quality. This can be especially useful when you're working on a website that requires faster loading times, as smaller file sizes contribute to improved performance.
The Process of Converting ZIP to JPG
Converting a ZIP file to a JPG is not as complicated as it might sound. Here is a simple, step-by-step guide to help you through the process.
Step 1: Extract Files from the ZIP Archive
The first step is to extract the files from the ZIP archive. This is a straightforward process, but it will vary depending on the software or operating system you're using.
If you're on Windows, right-click on the ZIP file and choose "Extract All." Then, follow the on-screen instructions to extract the files to a folder of your choice. On Mac, double-click the ZIP file to automatically extract it into a folder.
Step 2: Check the Extracted Files
Once you’ve extracted the files, check the contents to see which images are inside. Depending on the contents, you may find multiple types of files, such as PNG, GIF, TIFF, or other image formats. These are the files you will convert into JPG format.
Step 3: Convert the Image Files to JPG Format
After extracting the images, the next step is to convert them into JPG format. There are multiple ways to do this, depending on the tools you have access to. You can use a variety of software, such as Photoshop, GIMP, or online tools.
One option is using an online converter. There are numerous free online tools available that allow you to convert image files to JPG format. Some popular options include Convertio, Online-Convert, and ILoveIMG. These tools are user-friendly and can handle multiple images at once, making them ideal for batch processing. To use an online converter, simply visit the website, upload the image files extracted from the ZIP folder, and choose JPG as the output format. The tool will process the images and provide you with a download link for the converted JPG files.
Another option is using desktop software like Photoshop or GIMP. The process is just as simple. Open the image file in your chosen software, then select the "Save As" or "Export" option. Choose JPG as the output format, adjust the quality settings if necessary, and save the image. Repeat this process for each extracted file to convert them all into JPG.
Step 4: Organize the JPG Files
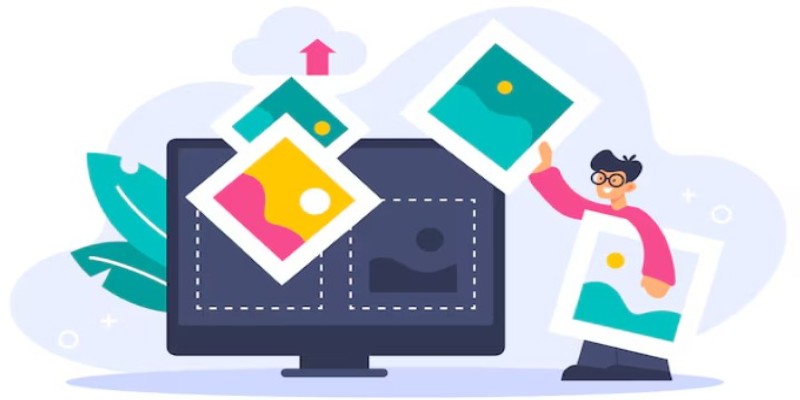
Once all the images have been converted into JPG format, you can now organize them. You can rename the files, move them into specific folders, or optimize them for use on your website or social media platforms.
Tips for a Smooth ZIP to JPG Conversion
While the conversion process itself is straightforward, there are a few tips you can follow to ensure everything goes smoothly.
Ensure Proper File Naming: Renaming images before or after conversion helps keep files organized and easily accessible. Use batch renaming tools to streamline the process and maintain consistency across multiple images.
Resize the Images if Necessary: High-resolution images can slow down web performance. Resizing JPGs reduces file size while maintaining clarity, making them easier to upload, share, and integrate into websites or social media platforms.
Consider Quality Settings: Adjust JPG quality settings to balance resolution and file size. Higher quality ensures better visuals but increases size, while lower quality reduces storage needs but may affect image sharpness.
Backup Your Files: Always create backups before conversion to prevent accidental data loss. Having the original ZIP file ensures a smooth recovery process if errors occur during extraction or format changes.
Conclusion
Converting ZIP to JPG is a straightforward process that makes handling image files easier and more efficient. By extracting the ZIP contents and using the right tools for conversion, you can quickly transform images into a widely compatible format. Whether for websites, social media, or personal use, JPG files ensure better accessibility and reduced file sizes. With proper organization, quality adjustments, and backups, you can streamline the process and save time. Mastering this conversion method will enhance your workflow effortlessly.
Related Articles
Fix HEIC Issues: AirDrop JPG from Your iPhone Easily

Which Are The Best Note-Taking Apps for Windows: Top Picks for 2025

How to Turn an Image into an STL for the Best Stereolithograph in 3D Printing

Transform Your Photos into Artistic Sketches with the Best Sketch Editor

Understanding CMMS: What It Is, Its Uses, and Essential Software Tips

How to Edit a PDF on Windows Like a Pro: The Ultimate Step-by-Step Guide

How to Detect AI-Generated Text and Photos in a World of Digital Deception
How to Convert 4 JPG to BMP: Easily Decode Compressed Images into Uncompressed Files
Effortless Ways to Extract a Freeze Frame from a Live Photo

Which Are The 5 Best Calendar Apps for Mac to Organize Your Life in 2025
Merging iPhoto Libraries on Mac: Easy Methods to Keep Your Photos Safe