knacksnews
Top 5 Efficient Ways to Convert WMV to MOV on Windows
The conversion of WMV files into MOV format matters during compatibility needs with Apple devices and particular software platforms. Windows users should use WMV files whereas MOV format offers better compatibility across different platforms. The transition from WMV to MOV becomes simple when using effective methods that avoid quality reduction. This guide presents the five most effective methods for WMV to MOV conversion specifically on the Windows platform for you to select the most suitable option.
Method 1: Using an Online Converter

Several online software solutions enable the conversion of WMV files to MOV while remaining free to use. Three widely used outlets for free conversion include CloudConvert, Zamzar and Convertio.
Step-by-step guide to conversion
- Visit the web browser that you prefer and navigate to the website of the converter selection you made.
- Open the webpage and use the “Choose files” or “Select files” button to upload your WMV file for conversion.
- Select MOV as the output format.
- To start the conversions select the “Convert” or “Start conversion” option from the website interface.
- After conversion is done users should download the new MOV file from their computer.
Benefits and limitations of online converters
Benefits:
- Free to use.
- No need to download or install any software.
- Can be accessed from any device with an internet connection.
Limitations:
- Depend on the speed of your internet connection, which can affect the conversion time.
- May have file size limitations and may not support large WMV files.
Method 2: Using VLC Media Player
VLC is a popular media player that also has the ability to convert files into different formats. It supports a wide range of video formats, including WMV and MOV, making it a great tool for conversion.
Step-by-step guide to conversion
- Download and install VLC Media Player on your Windows computer.
- Open VLC and go to “Media” > “Convert/Save”.
- Click on the “Add” button and select the WMV file you want to convert.
- Click on the “Convert/Save” button at the bottom of the window.
- In the Convert window, select MOV as the output format and choose a destination for your converted file.
- Click on “Start” to begin the conversion process.
- Once the conversion is completed, you will receive a notification and can find the converted file in your chosen destination folder.
Benefits and limitations of using VLC Media Player
Benefits:
- Free to download and use.
- Can convert files in bulk, making it a time-efficient option.
- Supports a wide range of file formats.
Limitations:
- May take longer to convert larger files.
- Some users may find the interface confusing or overwhelming.
Method 3: Using Windows Movie Maker
Windows Movie Maker is a built-in video editing software for Windows that also has the ability to convert video files. It supports various formats, including WMV and MOV, making it a convenient option for converting your files.
Step-by-step guide to conversion
- Open Windows Movie Maker on your computer.
- Click on “Add videos and photos” and select the WMV file you want to convert.
- Once the file is imported, go to “File” > “Save movie” and choose the output format as MOV.
- Select a destination folder for your converted file and click on “Save”.
- The conversion process will begin, and once completed, you can find your converted MOV file in the designated destination folder.
Benefits and limitations of using Windows Movie Maker
Benefits:
- Already installed on most Windows computers, so no need to download additional software.
- User-friendly interface makes it easy for beginners to use.
Limitations:
- Limited features compared to other video converters.
- May not support some newer file formats.
Method 4: Using Wondershare UniConverter
Wondershare UniConverter (formerly known as Wondershare Video Converter Ultimate) is a powerful video conversion software that supports various video and audio formats. It offers a simple and user-friendly interface, making it a popular choice among users.
Step-by-step guide to conversion
- Download and install Wondershare UniConverter on your computer.
- Launch the program and click on “Add Files” to import your WMV file.
- Select MOV as the output format from the drop-down menu.
- Choose a destination folder for your converted file.
- Click on “Convert” to start the conversion process.
- Once completed, you can find your converted file in the designated destination folder.
Benefits and limitations of using Wondershare UniConverter
Benefits:
- Supports a wide range of video and audio formats.
- Offers advanced features like batch conversion and video editing.
- Fast conversion speed without compromising quality.
Limitations:
- Requires a paid subscription after the free trial period ends.
Method 5: Using HandBrake
HandBrake is a free and open-source video converter that supports various formats, including WMV and MOV. It offers advanced options for users who want more control over their conversions.
Step-by-step guide to conversion
- Download and install HandBrake on your computer.
- Open the program and click on “Open Source” to import your WMV file.
- Select MOV as the output format from the drop-down menu.
- Choose a destination folder for your converted file.
- Click on “Start Encode” to begin the conversion process.
- Once completed, you can find your converted file in the designated destination folder.
Benefits and limitations of using HandBrake
Benefits:
- Free and open-source software with no hidden costs or subscriptions.
- Advanced options for users who want more control over their conversions.
- Can convert files in bulk, making it a time-efficient option.
Limitations:
- May take longer to convert larger files.
- User interface may be overwhelming for beginners.
Conclusion
There are various methods available for converting WMV to MOV, and the one you choose will depend on your personal preference and specific needs. Online converters are convenient and free, but they may have limitations when it comes to file size or internet speed. Using software like VLC Media Player, Windows Movie Maker, Wondershare UniConverter, or HandBrake offers more advanced options and can be a better choice for larger or multiple files. Whichever method you choose, make sure to follow the step-by-step guide provided by the software to ensure a successful conversion.
On this page
Method 1: Using an Online Converter Step-by-step guide to conversion Benefits and limitations of online converters Benefits: Limitations: Method 2: Using VLC Media Player Step-by-step guide to conversion Benefits and limitations of using VLC Media Player Benefits: Limitations: Method 3: Using Windows Movie Maker Step-by-step guide to conversion Benefits and limitations of using Windows Movie Maker Benefits: Limitations: Method 4: Using Wondershare UniConverter Step-by-step guide to conversion Benefits and limitations of using Wondershare UniConverter Benefits: Limitations: Method 5: Using HandBrake Step-by-step guide to conversion Benefits and limitations of using HandBrake Benefits: Limitations: ConclusionRelated Articles
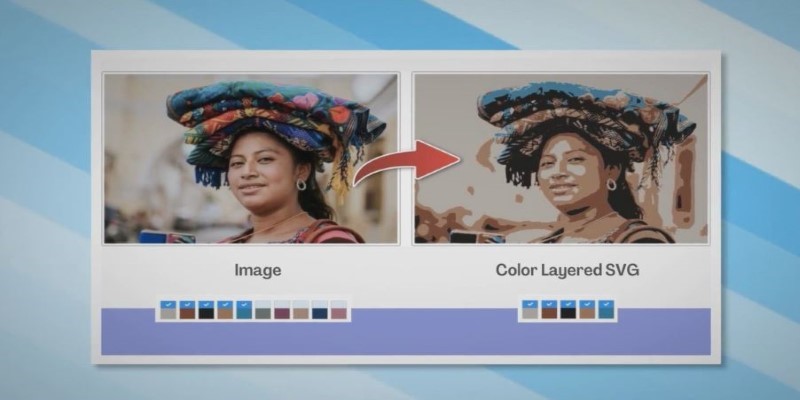
How to Convert JPG to SVG: The Best Methods for Beginners and Experts

How to Set Up an Automatic Out-of-Office Notification Bot: A Step-by-Step Guide
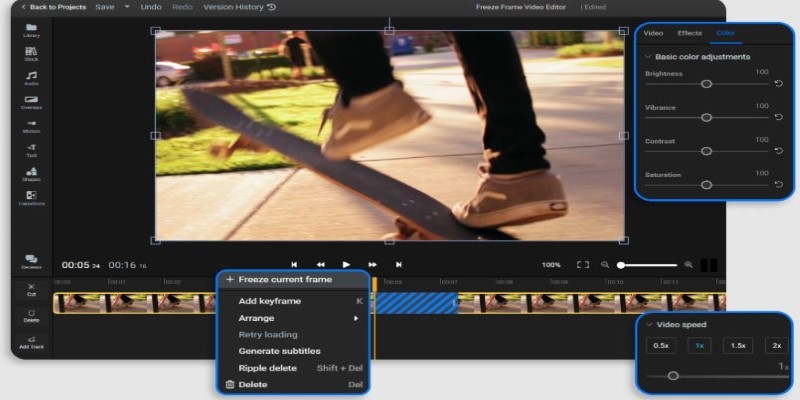
Effortless Ways to Extract a Freeze Frame from a Live Photo

The 11 Best CRMs for Small Business: Streamline Your Workflow in 2025
How to Convert 4 JPG to BMP: Easily Decode Compressed Images into Uncompressed Files

How to Use Google Docs Version History: A Step-by-Step Guide For Beginners

Understanding CMMS: What It Is, Its Uses, and Essential Software Tips

The Best Dictation Software: Transforming How You Work and Communicate
From SVG to PNG: The Ultimate Guide for Converting 2D Graphics into Digital Images

Top 7 DPI Converters to Simplify Your Image Editing Needs

Best Image to PDF Converters for Desktop: 6 Top Picks